Article 4:
This Article provides instructions on how to Repair the Trailing Edge of a Wooden Airplane Propeller.
The trailing edge of a wooden aircraft propeller is the most fragile part of the propeller.
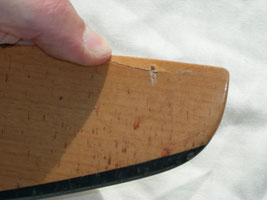 |
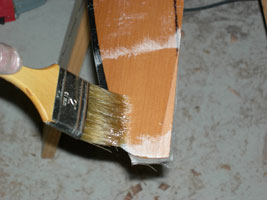
This prop was a victim of hanger rash. You can repair it by cutting off the damaged area on the trailing edge and splicing in new wood. Use a steel straight edge and a utility knife to remove the damaged wood. |
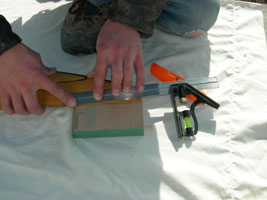 |
Your knife cut will not be straight enough and clean enough to glue to. It has to be cleaned up with a hand plane. |
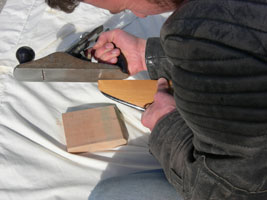 |
You might want to sand this edge to make it smooth, but that’s not a good idea, because the sanding dust will clog the pores of the wood and make a weak joint. |
 |
After you’ve planed the trailing edge of your propeller, it should look like this. After you’ve prepared the trailing edge of the prop, you’ll want to prepare your piece of wood to splice and place. Once again the best choice is a hand plane. |
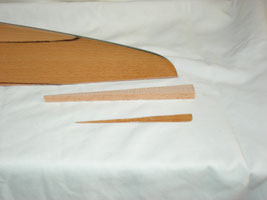 |
In this photo we can see the new piece of wood that will replace the damaged piece of wood.Mix your epoxy carefully by weighing it. Follow the manufacturers instructions. For this repair we added some fumed silica. This made the epoxy a little bit stronger, thicker, and easier to work with. It’s nice if your epoxy has a cake-frosting like consistency. |
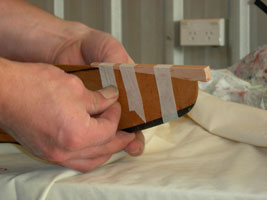 |
Apply your epoxy both to the trailing edge of the prop and to the piece of wood that you’re going to splice in. Make it look nice and neat if you can. After you’ve applied the epoxy to both sides, tape it up like this, and then set it aside to dry for a day. |
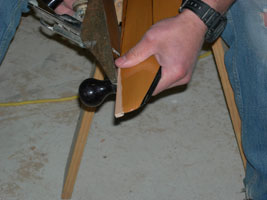 |
Use a hand plane and sanding blocks to match the shape of the spliced wood to the shape of the old prop. A good way to get the shape right is to hold the old piece of wood in place to see how it looks. |
 |
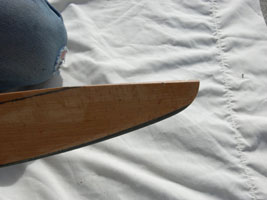
This is what it should look like when you are done. At this point you could simply refinish and be done, but if you fiberglass the tips you will get a tougher, more durable repair. |
 |
Cut the fiberglass out so it begins at the back of the toughened epoxy leading edge. You don’t want to wrap the fiberglass around the leading edge because rain damage could cause problems later on. |
 |
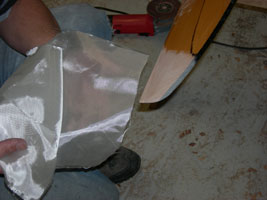
If you put fiberglass on one tip, you will need to put it on the other tip for balance reasons, so cut out four pieces of fiberglass that will fit the area that you’re going to repair and set them aside. Next paint a layer of mixed epoxy on the prop tip and lay your fiberglass down as shown. |
Make sure you get all the air bubbles out and when you’re done with this, repeat this same procedure on the other side of the prop. Don’t forget that you will have to fiberglass the opposite tip of the prop to balance it.
When you’re done with this step, set the prop aside and let it dry for a day. When you come back, trim off the excess fiberglass first with a utility knife and a piece of new sand paper on a sanding block. Sand your tip repairs beginning with 120 grit sanding paper and working up to 400 grit sandpaper in preparation for paint.
For more advice on how to finish your prop in prep for painting, see our separate video on prop finishing.